Usually in layman terms, whenever
we are talking about migration we refer to data migration. It may be related to
data load/migration from a legacy system to Maximo, or it may be related to
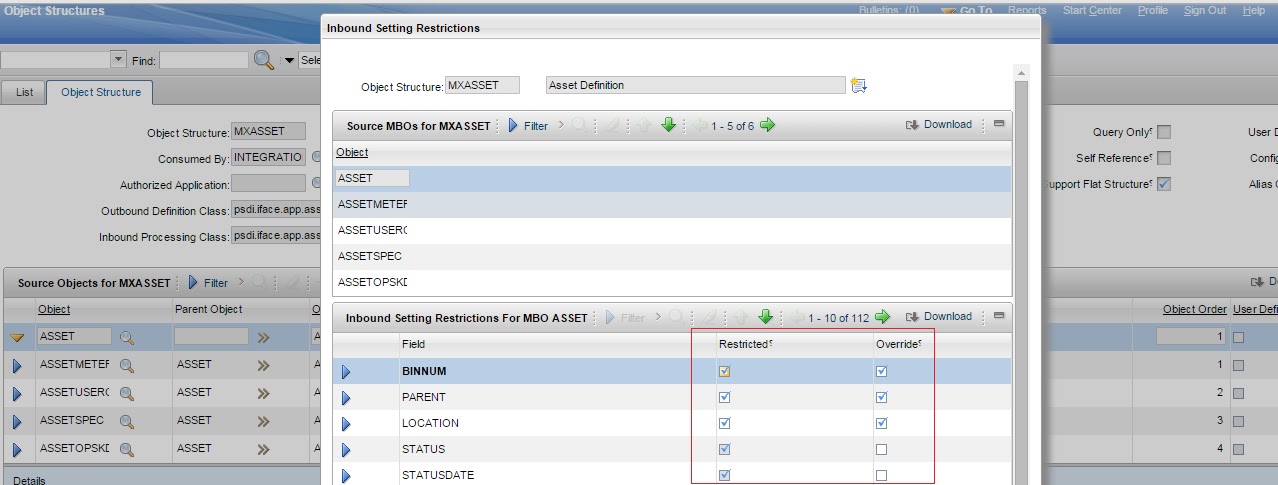
data load to Maximo tables. But Migration Manager application(s) in Maximo enables
a structured set of steps to promote configurations from one product
environment to another. Migration Manager helps to export the configuration
changes made on the development environment in a package and helps to import
the package into a test or production environment.
I had come across an interesting
query that whether we are using migration manager or the integration framework
we create an object structure, which allows to create the data model which will
be used for import/export. And, we import/export data related to an object, and
the configuration changes also get saved in Maximo objects. So, why don’t we
use Integration Framework instead of Migration Manager to import/export the
configuration changes using XML or flat files? To answer this we need to
understand the purpose of these
The purpose of Maximo Integration
Framework is used to manage the transactional integration to external
applications and is used for export and import to and from external
applications or existing applications. The MIF supports primarily the master
and transactional data. The purpose of Migration Manager is used for package-based
configuration export and import between similar production environments.
Migration Manager supports import/export of metadata (configuration data).
To understand the usage of each
framework, we need to understand which one we should select to execute the
required tasks. For example, a developer has implemented a workflow for
incident management using TPAE (Tivoli Process Automation Engine) Workflow
Designer and related applications like, Roles, Actions, Communication
Templates, etc. This workflow needs to be promoted to Test and Production
environments. In this case we are going to use migration manager. We bundle all
the related metadata (configuration changes to actions, roles, communication
templates, workflow process, etc.) to a package definition using object
structures and migration groups, create a package, and distribute the package
in the development environment. This package is then imported and deployed in
the test or production environment. This way the workflow for incident
management is made available in the test or production environment.
Let us consider one more example.
We have a set of requirements for which we have created two custom objects. We
have created new domains and relationships to new or existing objects. Based on
these configuration changes we have made some changes to the Preventive
Maintenance application. We need to migrate the configuration changes to a UAT
environment before deploying into the Production environment. Here also, we
need to use the migration manager.
Let us consider another scenario where
we need to integrate Tivoli Asset Management for IT with asset discovery tool
TAD4D or we need to integrate the Tivoli Service Request Manager to an external
ticket management application and also the historical tickets need to be loaded
into Tivoli Product. Integration Framework (MEA) is the choice in this case. Existing
data, such as tickets, can be loaded into Tivoli Service Request Manager using
a number of methods, including flat files, interface tables, or XML. Further, we
may need to add 500 asset records. We will use MEA for loading the data for 500
records into the Asset object.
Now there is a need to migrate
foundation data, which is also known as the implementation data, from
development to production to avoid having to re-enter huge amount of data, such
as locations and classifications, units of measure, currency codes etc., in the
production environment. Some people like to call it as Reference Data also. Typically,
this type of data consists of discrete sets of data that do not have multiple
or deep relationships with other data. The Migration Manager can be used to
migrate such foundation data. However, with its queue based processing, message
processing and resubmission capability, using MIF to load
foundation/reference/implementation data is more efficient that using migration
manager framework.
With this we can come to a
conclusion that data load/migration from one Maximo environment to another or
from external system to Maximo, we need to keep in mind what type of data we
are migrating or promoting. When we refer to metadata, i.e. data about data,
like configuration changes, we would be using migration manager. And when we
refer to master or transactional data and reference/implementation data, we
should selectively use the Integration Framework.